Learning how to repair a surfboard can allow you to continue using your beautiful board after damage. This particular skill can save you some money, frustration while surfing and, interestingly, it is easy to grasp.
Regarding surfboards, damages can come in any form but what is noticeable is their subsequent reduced efficiency. Furthermore, the surfboard is more likely to suffer more damage. In such a scenario, a replacement is unavoidable.
Some little tricks and steps can repair the surfboard and restore it to 99 percent of its original state. This article contains everything you need to know about repairing a damaged surfboard. Let’s proceed.
Table of Contents
5 Common Surfboard Damages
Damages can occur to a surfboard in different ways. Regardless of your level of experience, you can damage your surfboard; however, these situations are more common among beginners.
However, the first way to reduce your likelihood of experiencing such is by purchasing the best surfboards. If it does happen, examining and identifying the damage can help you understand how to repair a surfboard.
Technically, there are five familiar types of surfboard damage; I’ve listed them below to help you distinguish them.
1. Compression Dings
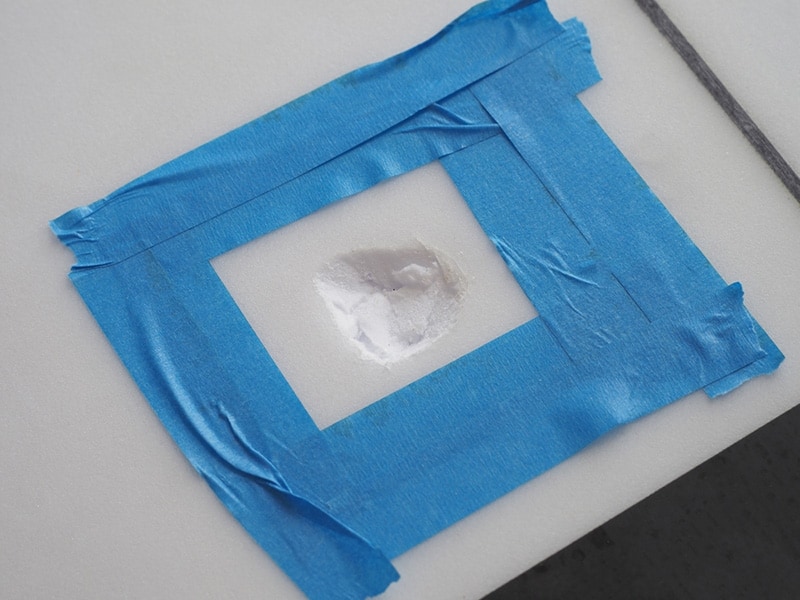
Compression dings are quite common and can occur due to pressure on a particular area of a surfboard. However, dings are more likely to happen with some types of board, especially those made from foam and resin.
Compression dings can develop on your surfboard with time if you surf regularly. In other cases, it may happen within a short time due to consistent heavy pressure on a particular area on the board.
Your feet and knees can create dings on your surfboard. The chances of such happening are lower if you purchase the best surfboards. I also advocate for surfboards with more resin. Regardless, there is a fix for such scenarios.
2. Cracks
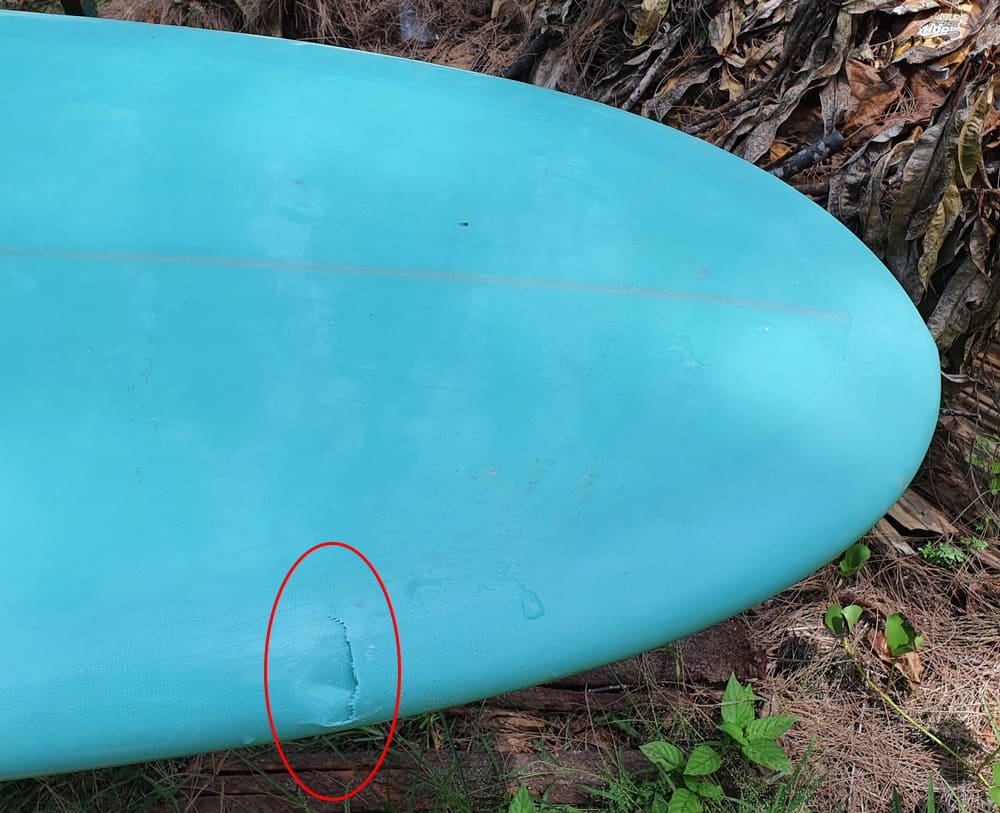
Another common type of damage is cracks, and they are likely to occur at the nose, rail, or tail of the surfboard. Your surfboard can suffer cracks during transport or impact with hard surfaces.
There are other possible circumstances which include crashing your surfboard into a rock or other surfboard. Furthermore, older surfboards have a higher tendency to crack. These cracks may subsequently let water in hence more damage.
Over-exposure to heat and sunlight might also be a culprit. This is why I recommend that all surfers store their surfboards in a cool, dry place. Please note that small to medium cracks are easier to fix than larger ones.
3. Delamination
Foam surfboards tend to suffer delamination where their shells separate from the core material. Some surfers report serious delamination when their surfboards are left in their vehicles on hot, sunny days. Yes, heat is a common cause of delamination; hence, proper storage is essential.
4. Yellowing
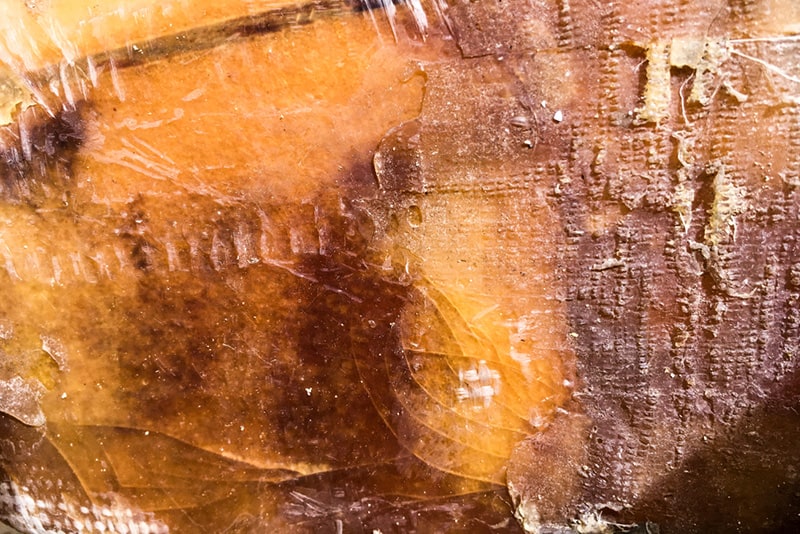
Yellowing is common with older or poorly maintained surfboards where the resin and foam components degrade. This can happen if your surfboard is exposed to too much heat and sunlight.
Of course, yellowing is obvious, and it will diminish your surfboard’s aesthetics. Also, yellowing can be caused by water damage. The “yellow” can appear darker in those cases, indicating that a ding or crack may be close by.
5. Others
There are other types of surfboard damage, including fin box damage, buckling, and even snapping. Most times, they are caused by the riders or the powerful force of heavy waves.
They may occur when you ride too shallow or crash your surfboard. Also, they may be irreparable. For instance, you cannot repair a surfboard that has broken into two.
Repairing Dings and Cracks on Your Surfboard
It is much easier to fix small to medium dings and cracks on your surfboard. The procedures are similar for circumstances. I have a strictly DIY method which I’ll elaborate on below.
For this exercise, you need sandpapers (fine and coarse), UV epoxy resin, fiberglass sheet, plastic wrap, and Q-Cell filler (optional). You also need some pieces of cloth, a cotton swab, a knife, and a spatula to apply the resin. The procedure is as follows.
1. Clean and Dry the Surfboard
The first thing to do is clean the surfboard. Start by removing the wax and traction pads on the surfboard; ensure it is wax-free. Then use a clean damp cloth to get rid of sand and other foreign objects.
Using a small soft cloth or cotton swab, clean the ding or crack, keeping it free of dirt and wax. Afterward, dry the surfboard to allow the efficiency of the planned treatment.
A day or two should be enough to dry it thoroughly. Never attempt to dry in the sun to avoid further damage. Check the crack for any traces of moisture to ascertain if it is well-dried.
2. Sand the Ding or Crack With the Rough Sandpaper
You also need to remove spoilt, discolored foam from the crack, especially if it has soaked in too much water. Simply use a knife to expose the soft, spoilt foam and discard. It should be easier to spot under a bright light.
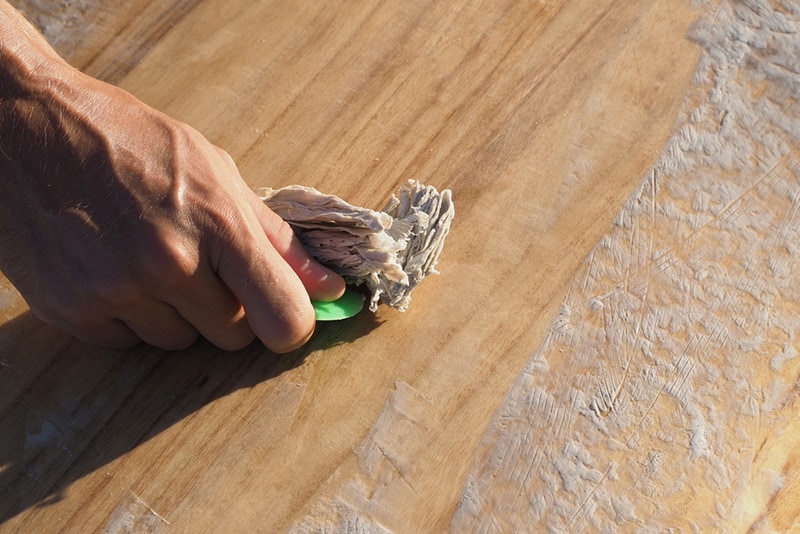
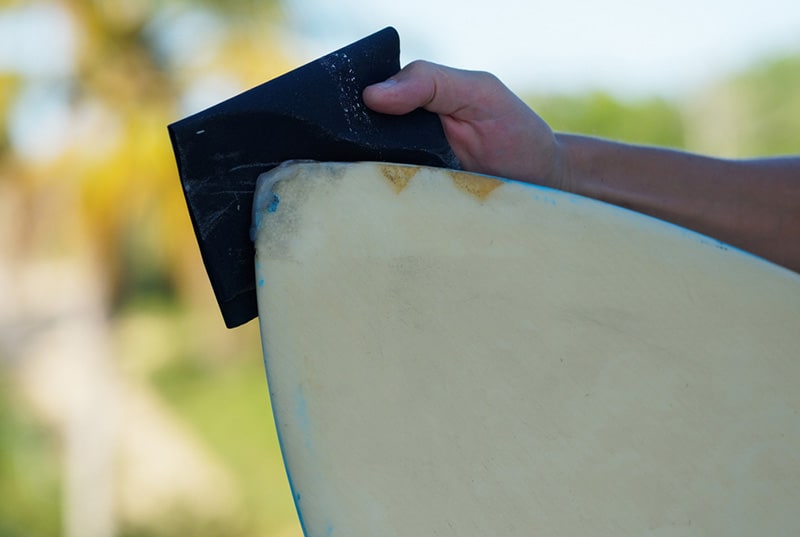
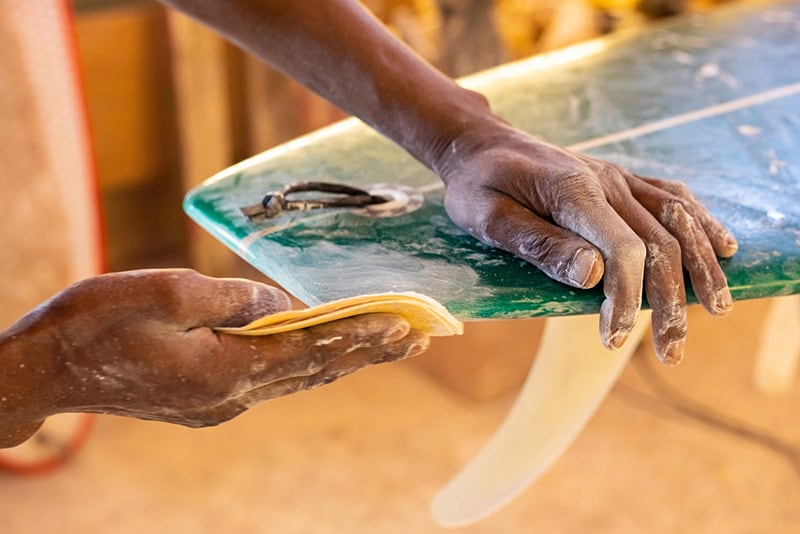
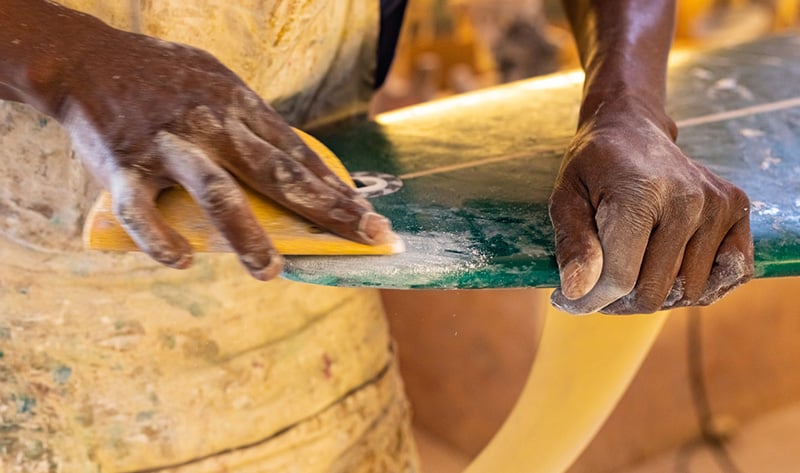
Using the rough sandpaper, rub the cracked area of the surfboard. Also, sand a little area surrounding the crack to ensure a smooth, perfect repair. You should continue rubbing until the fiberglass cloth under the shell is exposed.
3. Applying the Resin and Q-Cell Filler
Resins will last up to three months before you need to repair the surfboard again. Mix the resin with the Q-cell filler to fill the ding and crack. The Q-cell filler is optional, but it allows the treatment to last longer if used.
The filler fills the vacuum created when you remove the spoilt foam and cures into it perfectly. Ideally, you should mix both properly till a smooth paste is formed. Ensure you follow the manufacturer’s instructions.
In cases of large dents or cracks, you might have to mix a larger volume. Pour the resin over the ding or crack and use the spatula to smoothen it out carefully. Ensure you keep out bubbles from forming in it as possible.
Afterward, cover the treatment with plastic wrap to secure it till the resin cures properly. Do not press on the resin to avoid denting or scattering it. Allow it to cure and harden properly by exposing it to sunlight for five to six minutes.
Put in a shade and let it set for at least five to twelve hours before taking off the plastic wrap. For resins that need air to cure completely, you might have to remove the wrap.
4. Finishing the Repairs
When it hardens enough, use the sandpaper to smoothen the excess resin with the surfboard. Start with the rough one before the soft sandpaper. Ensure there are no bumps or bubbles while cleaning the resin dust.
You can also cut and place a small fiberglass patch on the crack for extra protection. Then apply a small layer of resin over it. Set it aside for another ten hours or preferably overnight. Once the added resin has hardened, smoothen it again with fine sandpaper.
Check out this video for additional explanation.
Fixing Delamination on Your Surfboard
Fixing surfboard delamination is slightly different. Delamination is when the shell of the surfboard separates from its core. It is characterized by a bulge or blister on the surface of the surfboard.
To fix the surfboard, you need epoxy resin, fiberglass cloth, spatula, sandpaper (fine and coarse), automotive clear coat polish, and masking tape. You also need a heat gun, a brush, a rotary tool (cutting disc inclusive), and a knife. Let’s proceed.
1. Cut Out the Affected Area
Clean and dry the surfboard – strip off the surf wax, moisture, and oils. Identify the affected area and use a distinct marker to circle it out. You are expected to mark along the line where the shell separates from the foam core.
Now you need to cut out the blister. Grab the rotary tool or your knife and cut along the mark to remove the bulging shell. Once that is done, you need to straighten and flatten out the removed portion.
To flatten it, gently heat the patch with the heat gun. If you do not have a heat gun, you can place a flat, heavy item (e.g., wood).
2. Replacing the Fiberglass Patch
Use the spatula to spread some resin on the area of repair. Ensure you do not use polyester resin as it can wreck the foam core. Take the flattened patch and place it back to its original position.
You may decide to use a new fiberglass patch but ensure that you cut it correctly to cover the repair area. Place some weights on the repair area or use clamps to glue the fiberglass on the surfboard perfectly.
Clean off excess resin squeezed out from the edges of the patch to guarantee a smooth job. Apply masking tapes and allow the epoxy to harden. Afterward, use fine sandpaper to smoothen the edges of the repair area.
3. Finishing the Repairs
After the epoxy has set and the patch has been restored, you have to improve the aesthetics of the surfboard. Basically, you need to hot-coat the surfboard to resemble a new one. First, clean off the dust.
Now apply masking tape to the other areas of the surfboard, leaving only the repair area. Then use a spatula and brush to apply epoxy to cover the fiberglass patch and even the edges. Ensure it blends well with the entire surfboard.
Once it has hardened after eight to ten hours, it is time to sand and polish the surfboard. Remove the masking tape. Using fine sandpaper, start sanding the repaired area with the surrounding area to blend it in.
Keep sanding till it feels smooth and shiny. The last thing to do is polish the surfboard; however, this is optional, just for aesthetics.
Rub the automotive clear coat polish on the surfboard with a soft cloth till it becomes shiny. You may also decide to paint your surfboard to improve its aesthetics even more.
Here is a video to help you understand the procedure better.
Conclusion
Surfboards require care and proper management; however, some circumstances are way beyond your control. Furthermore, they can happen when you least expect them. Surfers can experience surfboard damage any time and even with their new surfboards.
Even the smallest dings or cracks can escalate faster and condemn a surfboard. Therefore, it makes much more sense to learn how to repair a surfboard. Primarily, this skill will help you save money.
Now you have an idea of how to repair a surfboard regardless of the type of damage it incurred. You can help other surfers save some cash by sharing this informative post with them by clicking on the social media buttons on the page.
Do you have some remarks or questions regarding this topic? Kindly use the comment area on this page to send them to me.
Related Articles:

