Although surfboards come in various color designs, you may often not find the one that delights you. Since aesthetics doesn’t contribute to performance, you may have no choice but to settle for it.
You don’t have to worry much as you can easily customize and paint your surfboard to suit your taste. Attractive surfboards are motivating, and you can attract more attention to yourself.
Even though it is simple, not everybody knows how to paint a surfboard. At the same time, you want to have the best painting on your surfboard. Paints can also help you hide repairs on your board.
If you have no idea about painting a surfboard, you’ve come to the right place. I will be discussing this comprehensively so you can end up with something perfect. Let’s get started.
Table of Contents
Before You Start Painting

1. Get the Right Board
Of course, you need to have a surfboard. One of those essential tips for beginners is getting the right surfboard.
Not just any surfboard but the best surfboard for your body size, surf location, weight, and experience. Except if you are painting for someone, you should know how to pick the right surfboard.
Ideally, the aesthetics of your surfboard should be the last thing on your priority list. Performance comes first. Therefore, if you end up with a plain-colored surfboard, it’s beautiful.
In fact, it is best to settle for a plain surfboard since you want to have your color design. You may also go for a single color surfboard if it aligns with your desired design.
This will help to prevent clashing colors and chaos when designing. This also applies to skimboards, bodyboards, and standup paddleboards.
2. Acquire the Needed Materials
For this particular operation, you need to get some materials. These materials will help you achieve your goal effortlessly and flawlessly. To start with, you need a workbench.
You will need chemicals such as acetone and mineral turpentine to clean your surfboard. You also need a wax comb to remove surf wax. Also, for preparing your surfboard, you will need sandpaper (280 – 320 grit).
For painting, you should consider Acrylic paints of your desired colors and paint pens. Acrylic paints dry faster, and they fix well on boards. You should know that flashy colors can give you out if you haven’t mastered the surf etiquette completely.
Brushes are also required as well as mixing trays. Paint sprays are more efficient than brushes, especially on foam surfboards if you can afford one.
To draw, you will need a whiteboard marker. To create a design, you need paper, a pencil, and an eraser. Also, you will need a clear coat spray (can), preferably a UV-resistant type. You may need stencils, rags, and newspapers too.
You will need a gloss finish for glossy boards, or satin (or matte) finish for non-glossy ones. For safety reasons, you will need a pair of gloves, goggles, and face masks. Gloves will prevent irritation while the goggles and face mask will keep dust away.
3. Sketching the Desired Design on Paper
To achieve perfect results promptly, I suggest you create your desired design on a paper. A pencil should be used since you can erase mistakes and make adjustments very easily.
First, you should sketch the shape of the surfboard on the piece of paper. Next, you can start drawing the design into the outlined surfboard shape.
Preparing Your Surfboard for Painting

You should protect yourself from chemicals and dust by using gloves, face mask, and safety goggles. The crucial things to do are listed below.
1. Remove Residual Wax
Now you need to prepare your surfboard’s surface for the painting process. This is a crucial aspect that should be appropriately performed else you’ll get a weak, inconsistent painting.
First, you should remove all the wax from the board. This, you can do by scraping the wax off with a wax comb or old credit card.
In cases where the waxing is proving stubborn, you can melt the residual wax under the sun for a maximum of 10 minutes. A hairdryer may be used for more convenience.
2. Clean the Board Thoroughly
Even after scraping the entire surfboard thoroughly, there will always be a light, waxy residue left. This can also keep the paint from adhering properly to the surfboard. Consequently, you get a low-quality painting.
It is advisable to clean up the surfboard with mineral turpentine using a clean old towel or rag. Afterward, you can clean again with acetone using another rag or towel for extra cleaning. By doing this correctly, the residual wax, oils, and dirt will be removed.
3. Sand the Board
You should also consider sanding the surfboard surface in preparation for painting, especially if it’s a fiberglass board. Since you already have a design, you may only need to sand those areas you will be painting.
Shining surfaces are less likely to hold paints properly; hence, sanding your board will increase the paints’ adhesion for a more reliable painting.
You should use extra-fine sandpapers, and it will be less stressful if you have an electric sander. In the end, you should have a dull, textured surface that can hold acrylic paints easily.
If there is still some area with shine, you should consider waxing those portions alone and again. Once you have achieved an even dull, textured surface, you should clean off the dust thoroughly.
Transferring Your Sketch and Painting the Surfboard

1. Transferring the Sketch to Your Surfboard
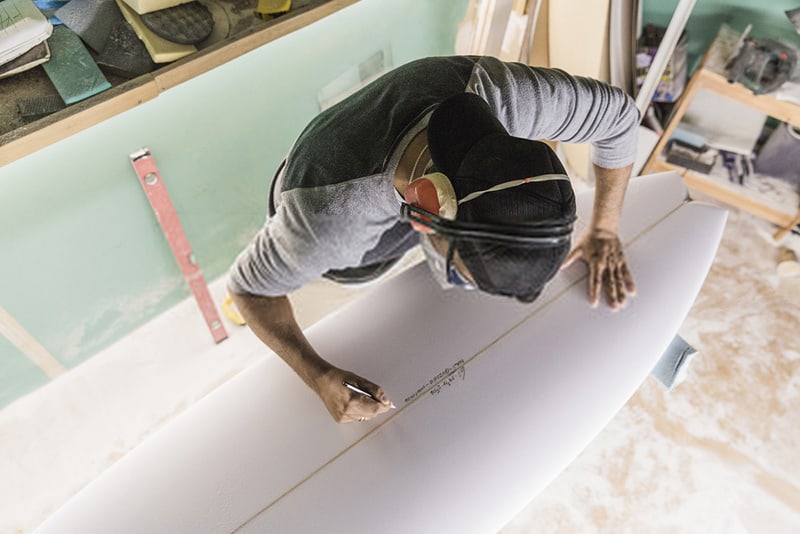
Use a whiteboard marker or a light pencil to draw the sketch on the surfboard. To achieve various shapes included in the plan, you can make use of household objects.
Plates, bowls, and cans can help you achieve perfect circles or ellipses. Similarly, you can also find square or rectangular objects around. You may also want to make use of stencils for more accurate designs.
2. Making an Area Paint-Free
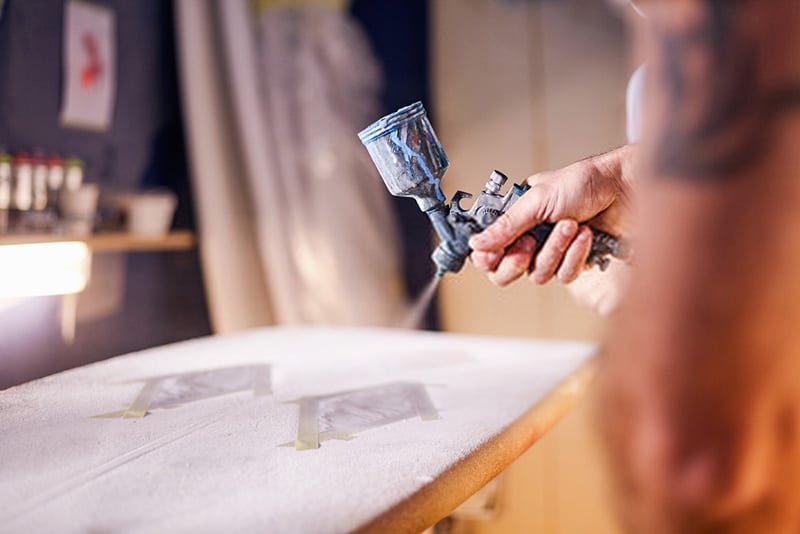
Of course, you may not have to paint the entire surface of the board. You can cover those parts you won’t be touching with masking tape. As long as your board’s surface is wax-free and dust-free, the tape will adhere properly.
You may use newspapers to cut costs, but you will need to keep them in place with the tape. If you want to make perfect stripes, you can use masking tapes instead of stencils.
3. Applying the Paints
After transferring the design to your board, then it’s time to paint. Prepare the colors in the mixing tray according to the manufacturer’s recommendations. It is best to use products from the same manufacturer for perfect results.
If you can’t find your desired color, you can mix different colors to achieve your result. Start painting the color(s) on the surfboard. You should aim to deliver an even layer on the board.
Ensure you pick the right brush (tip) for painting. Choosing the right brush will help ensure a neat and precise result. For larger areas, thicker brushes will be best and, for small spaces, go for the smaller brushes.
If you will been using a background, you should paint the board and let it dry before placing the tapes and stencils. If you are spraying, you should hold the spray about 10 inches from the board. Make sure the background paint has dried enough before moving to the foreground.
4. Applying Features of the Design
If you want a more artistic design, you can use the paint pens. You can use them to add highlights, shadows, and other illusions to suit your taste. You can also use darker colors to create outlines but ensure consistency all-through.
5. Drying
After applying the paints, you should dry adequately. The background paint should be properly dried before applying the foreground design.
To dry your board, simply place it in the sun. If it is not sunny, you will have to wait longer. You cannot skip this step; therefore, just calm down till it’s dried.
You should not remove the stencils and masking tape until it is dried enough. You can ruin the design by going too fast.
6. Finishing Up
After drying, carefully remove the tapes and stencils from the board. Now it’s time to apply the clear coat to improve the aesthetics of the board. More importantly, it will protect the colors and also restore the smoothness of the board.
Apply the clear coat on the board and ensure it dries completely. Afterward, you should use fine sandpaper to smooth the coated area without spoiling the paint.
After sanding, you should clean with a moist rag and apply the coat again. You will be spraying for three or four more times. Between those intervals, you should sand and clean the surfboard.
By doing this, you can improve the board’s smoothness but do not apply too much. For the entire process, it should take you up to a week to finish.
FAQs
It’s possible that you’ve skipped some cogent points in the article, or you’ve come here seeking answers. Therefore, I’ve compiled some frequently asked questions to help clear your mind.
What Paint to Use on Surfboard Foam?
The most suitable type of paint for surfboard foam is acrylic paint. Interestingly, it works well on fiberglass surfboards. Compared to oil-based paints, acrylic paints last longer and can withstand surfing. It dries faster than oil-based paints too.
Can You Paint Surfboard Fins?
Yes. You can do that. The process is similar to painting your surfboard.
How Can I Paint the Rails?
It is simple! You should prepare the rails (dewaxing, cleaning, and sanding). Afterward, make use of newspapers to cover the other parts of the surfboard. It will keep you from splashing colors and ruining other parts. Don’t forget to apply the clear coat finish.
Conclusion
A well-painted board is often a source of attraction and motivation. Since you can’t get your desired taste, I see no reason you shouldn’t make one for yourself. By now, you should be able to that effortlessly and flawlessly.
Do you have any questions, suggestions, or comments? Please share them with other readers in the comments section.
You can also share how to paint a surfboard with your friends on Twitter, Facebook, and any of the social media platforms listed below.
